DIY Sprinter Van Roof Rails: Complete Parts List and Build Guide ( 2025 )
First Steps
Looking for a budget way to mount solar panels & a roof deck to your Mercedes Sprinter van conversion? This DIY roof-rail guide will talk you through the considerations, tools, materials, and steps to do just that!
Roof rails for sprinter vans can be expensive. For our 170″ Mercedes Sprinter, we were looking at spending about $400 to add them. DIY’ing the roof rails has the advantage of being cheaper and custom for your needs! We find building something by hand makes it much more satisfying and useful.
Note: This guide is to install Roof Rails which are the bars secured to the roof of the car and run lengthwise. This subsequently allows for the installation of a Roof Rack which are the rails running across the van.
There are some important considerations to make when making your roof rails. They need to be strong to support the load of the solar panels, rooftop deck, etc. They must be durable and resistant to the abusive sun and rain. It must also be waterproof where it connects to the van to avoid leaking.
We made the mistakes and spent the money to learn so you can have a frictionless install. Some of the issues we had with the first iteration of the roof rails are the following:
- Strut Channel ( Unistrut ) is the material we used for the rails. There are multiple types of strut channels. We purchased the short-slotted strut channel- we should have bought the long-slotted strut channel. The reason is because the short slots do not line up with the holes in the van and led to some holes being completely unreachable and others being very tight on the edge. Avoid this issue by purchasing the long-slotted strut channel.


- I was very paranoid about waterproofing the connections and also avoiding a situation where the strut channel sags and scrapes the rooftop. Because of this, I opted for a full-length rubber gasket under the strut channel. The problem? I bought a rubber gasket that had an adhesive on one end. This adhesive ended up ripping off large parts of the rooftop paint during installation ( so much for protecting the paint ).

I still think this is a valid install option. If you want to use a full gasket like this- I just recommend using one without the adhesive. Also, be warned that it makes it easy for things to get stuck in the cracks between the rubber and roof that is hard to get out. Nonetheless,
Important Things to Understand Before Starting
- Galvanic Corrosion: Galvanic corrosion is a process where two different metals touching corrodes one of the metal when an electrolyte is present. E.g., salt water. This means you do not want to dissimilar metals touching or else it will cause one of the metals to start rusting. You can learn more about Galvanic Corrosion here.
- Number of holes in van: Let’s start by determining how many holes are on the top of your van. For my 2021 Mercedes Sprinter 170″ there were 11 on each side for a total of 22. Thus I purchased 25 bolts, washers, nuts, etc, in order to have enough and a few extra just in case. You should confirm the number of holes you have and get equivalent amount of hardware.
- Length of van roof: You will want to update the amount of unistrut you purchase based on the length of your van and your preferences. Ideally you should use a ruler on the top of the van to see what looks best for you. In our van, we wanted to use as much space as possible and determined 160″ length on each side would be ideal.
- Cost of materials online vs in-store: I am totally understand that online shopping causes problems for local businesses, nonetheless, it is undeniable that I can find significantly better deals online. If you try to buy the hardware the day off at a local hardware store, expect to spend much more. We highly recommend preparing ahead of time and purchasing the hardware online. We have linked to the exact hardware we recommend!
Complete Parts and Tools List:
Tools:
Rivnut Tool
Heat Gun
Miter Saw
Long head Ratchet
Materials:
10ft Aluminum Strut Channel, long-slotted
M6 Rivnuts, Stainless Steel
M6 Flange Bolts, Stainless Steel
M6 Nylon Nuts, Stainless Steel
1/4″ Bonded Neoprene Washer, Stainless Steel
1/4″ EPDM Rubber Washer -or- 1.5″ Rubber Gasket
90% Isopropyl Rubbing Alcohol
Butyl Tape
Automotive Paint Primer
Lanocote ( or other anti-sieze compound )
Note: You will also need a ladder to get on and off the roof 😉
Step-by-Step Guide:
Cut and Prep the Aluminum Strut Channel
You may be tempted to begin by removing the caps on the Sprinter van roof but this is a mistake. In our case, we removed the caps only for it to get dark, requiring us to tape them back up and wait for the morning. Instead, prep the aluminum and while you wait for the paint to dry, work on removing the caps.
- Begin by using the miter saw ( or whatever tool you have to cut a straight line ) to cut the aluminum to size. Ensure you are certain the size you want each side to be. As mentioned previously, we wanted each side to be 160″ and we purchased 3x 10 ft strut channel- thus we left one at 10 feet and cut the other to be 40″ in length.
- Set down a clean area you can wash and sand the strut channel at. We just added some cardboard on the pavement. Start by sanding down any sharp edges with ~220 grit sandpaper just so you don’t cut yourself.
- Use an eco-friendly degreaser cleaner like Dr. Bronner’s Sal Suds Biodegradable Cleaner and a scotch brite pad and quickly wash the aluminum.
- Use the ~220 sandpaper and lightly scuff the entire strut channel. This part gets a little tedious due to the length and shape of the strut channel. Take a break if you need to! Once each piece is sanded, use a damp washcloth to wipe down the dust from the strut channel.
- Apply a protective spray paint coat and let dry!
Remove the Roof Caps and Prep the area
- Begin by removing the caps by using a heat gun on the caps from inside the van. After 30 seconds, use some pliers to twist and push it out. It might crack, that is okay, we will clean up after.
- After opening all the holes, remove any debris and use Isopropyl alcohol to clean up the glue- the glue will primarily be on the top. Isopropyl alcohol and clean up the residue.
- When the area has been cleaned up, use the paint primer around the holes. Use this opportunity to touch up any other areas on your van that are flaking 😉
- Once the primer has completely dried, install the M6 SS Rivnuts into all the holes. This provides the thread for the bolt.
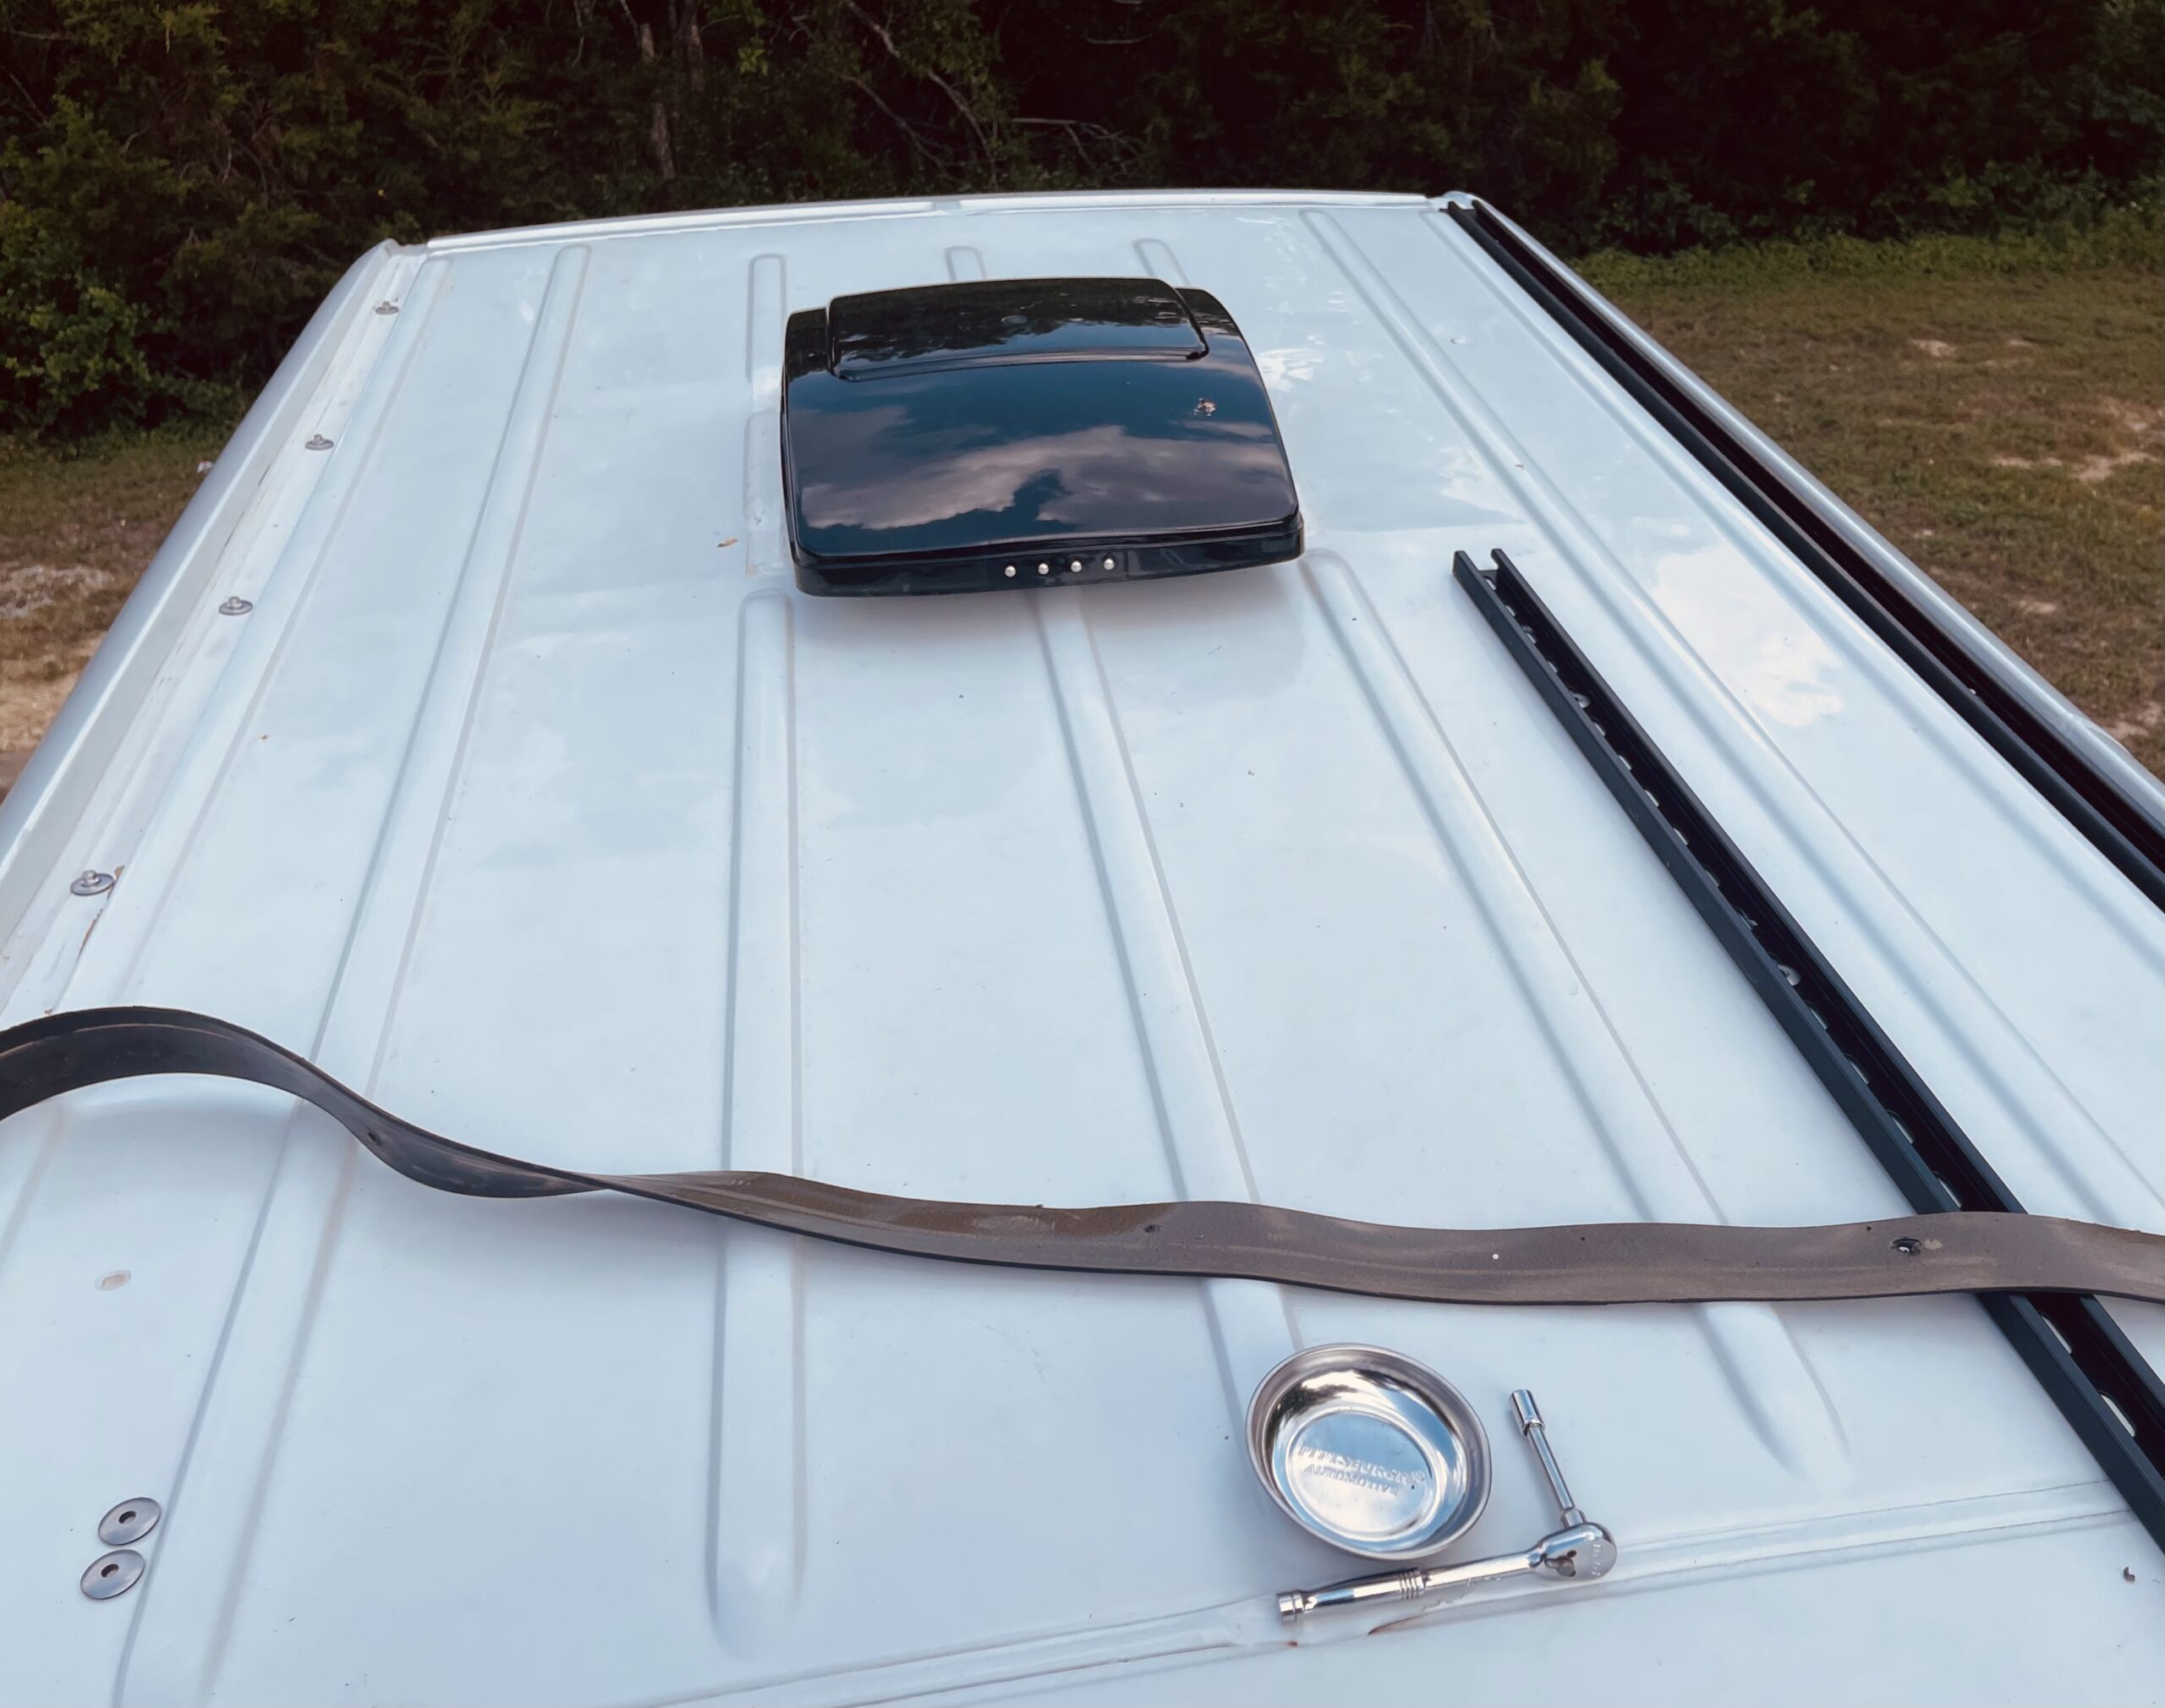
Install the Roof Rails
- Add butyl tape over the rivnut, make sure to get the edges. Add the EPDM rubber washer over the holes -or- lay the Rubber Gasket. If using a rubber Gasket- you will need someone from below to use a sharp point to poke a where the
- Lay the Strut Channel on top and align them to be exactly where you want. Make sure you have access to all the holes.
- Dip the M6 SS bolts into Lanocote up to the head. Then add the neoprene washer and scew it in. Do this for all the holes. The lanocote protects the aluminum from galvanic corrosion from the stainless steel and makes the seal more airtight.
- You will need someone to hold the bolt on top with a ratchet to stop it from rotating the rivnut while someone on bottom tightens up the M6 SS Nylon nut.
- Seal with self-leveling lap sealant.
Done! great job! I hope you had fun and are admiring your new Roof Rack 🙂 If you enjoyed this reading, please sign up for our email list to get more content like this 🙂